Creating and deploying my first website as a project
Motivation
I’ve always wanted to create a blog and it’s a mean to prove to myself of my capability as a programmer (+ a way to show-off 😉). Having read through Ultralearning by Scott H. Young, I was inspired to attempt such feat, with a few tweaks to suit my lifestyle. Rather than reading on how I could improve and learn, I’ve set out on the task to ACTUALLY DO IT.
I’d also like to share my struggles, and experience with Creating a website.
Introduction
Creating a website is hard!
Where do I start? I want my website to be aesthetically pleasing with a nice font and an awesome colour scheme. Do I create a PoC of how my website will look in Figma? I also want to learn a new programming language. What programming language should I then use? Okay cool, I’ve chosen a programming language, but how do I get HTML, CSS, { insert programming language } to work? What framework/library should I use for my frontend/backend? Github or Gitlab or … ? I don’t want to get hacked - what should security look like? How do I get my website up and running for the world to see? I want it to be popular, how do I maximise SEO? I want to see how many people view my website daily and their geographic location - how do I do that? It’ll be cool to have people subscribe to my blog, I’ll need to create a form for subscription. !!!!
But.. I made it hard for myself. All of these are valid questions and wants, but as a developer who has never deployed his own application they are overwhelming to the point that I just won’t begin the project. So I had to set myself a few constraints and a small goal to get myself rolling on to creating my website:
- Black and white for the theme
- Predominantly use JavaScript (NodeJS) for the project
- Svelte Front End and SvelteKit mainly for handling routing - SvelteKit proved to be a god send in speeding development process
- Firebase for Backend-as-a-Service (BaaS)
- Routes are
/aboutand/blogwithout any content - Deploy my website using Firebase
- Done is better than perfect.
And that’s it! It seems like a lot, but this is much more palatable. I stuck with a programming language I am familiar with as this reduces the complexity. However, I can’t give any reasoning as to why I have chosen Svelte, SvelteKit, and Firebase. I have minimal to no experience with these, and I had to research my options, just pick one, and stick with it! I could have also chosen React + NextJS, and Netlify. But the most important thing for me to do was stick with it, so that I can learn as much as I can from these frameworks and make a better informed decision in the future.
I wanted to take a pragmatic approach and “Done is better than perfect” enables me to celebrate the small milestones as the project evolves. It was important that I pushed and deployed features as I completed them (even if they were subpar) to prove to myself that I am capable.
I acknowledge that “Done is better than perfect” won’t be the ‘perfect’ approach for everything, however it certainly is for this project.
Beginning my Project
Thank god Svelte and SvelteKit has good documentation (at least from what I’ve been reading so far). It comes with the added bonus of a learning sandbox where I can learn the concepts and type them out for myself. I was able to use code from the sandbox and documentation to initialise my project.
npm create svelte@latest my-website
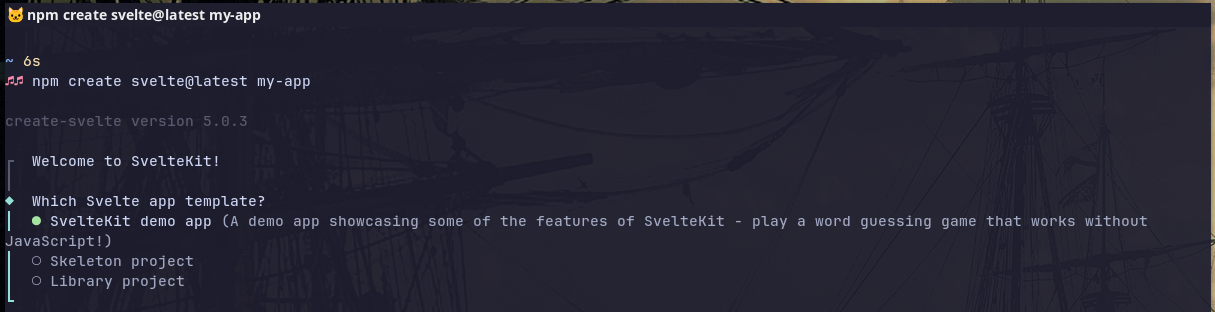
I opted to initialise with a Skeleton Project using TypeScript and some other additional options.
Along with Svelte also came SvelteKit which handles all the web server ‘stuff’ specifically tailored for Svelte. SvelteKit simplified the development and handling of my routes by building the routes into the folder structure.
Here is an oversimplified instruction on how to create a web page using Svelte and SvelteKit.
- Initialise the Project with
npmusing the Skeleton Project - Add a
+page.sveltefile within/src/routes. This serves as the landing page when people visit your website. This file allows you to declare the HTML elements, scripting via JavaScript or TypeScript, and the styling if you choose. - To add different paths , create a new folder within
/src/routesand add a+page.sveltefile. - Profit???
I didn’t exactly profit immediately. A consideration I missed was whether the website is going to be static or dynamic. Considering that the very first few iterations are only going to be blog posts, I opted for a static site. I don’t fully understand the implications of my decision now, and whether changing to a dynamic site is going to bite me later on, but that’s all part of the learning - I will live with it.
A few Stack Overflow posts later and creating some Svelte components, I had created the most basic website. Here is how the folder structure looked like.
$ tree -I 'build|node_modules'
.
├── package.json
├── package-lock.json
├── README.md
├── src
│   ├── app.d.ts
│   ├── app.html
│   ├── global.css
│   ├── index.test.ts
│   ├── lib
│   │   └── index.ts
│   └── routes
│       ├── about
│       │   └── +page.svelte
│       ├── blog
│       │   └── +page.svelte
│       ├── Heading.svelte
│       ├── +layout.ts
│       └── +page.svelte
├── static
│   └── favicon.png
├── svelte.config.js
├── tsconfig.json
└── vite.config.ts
Running npm run build and npm run preview allowed me to view the website
in all it’s glory.
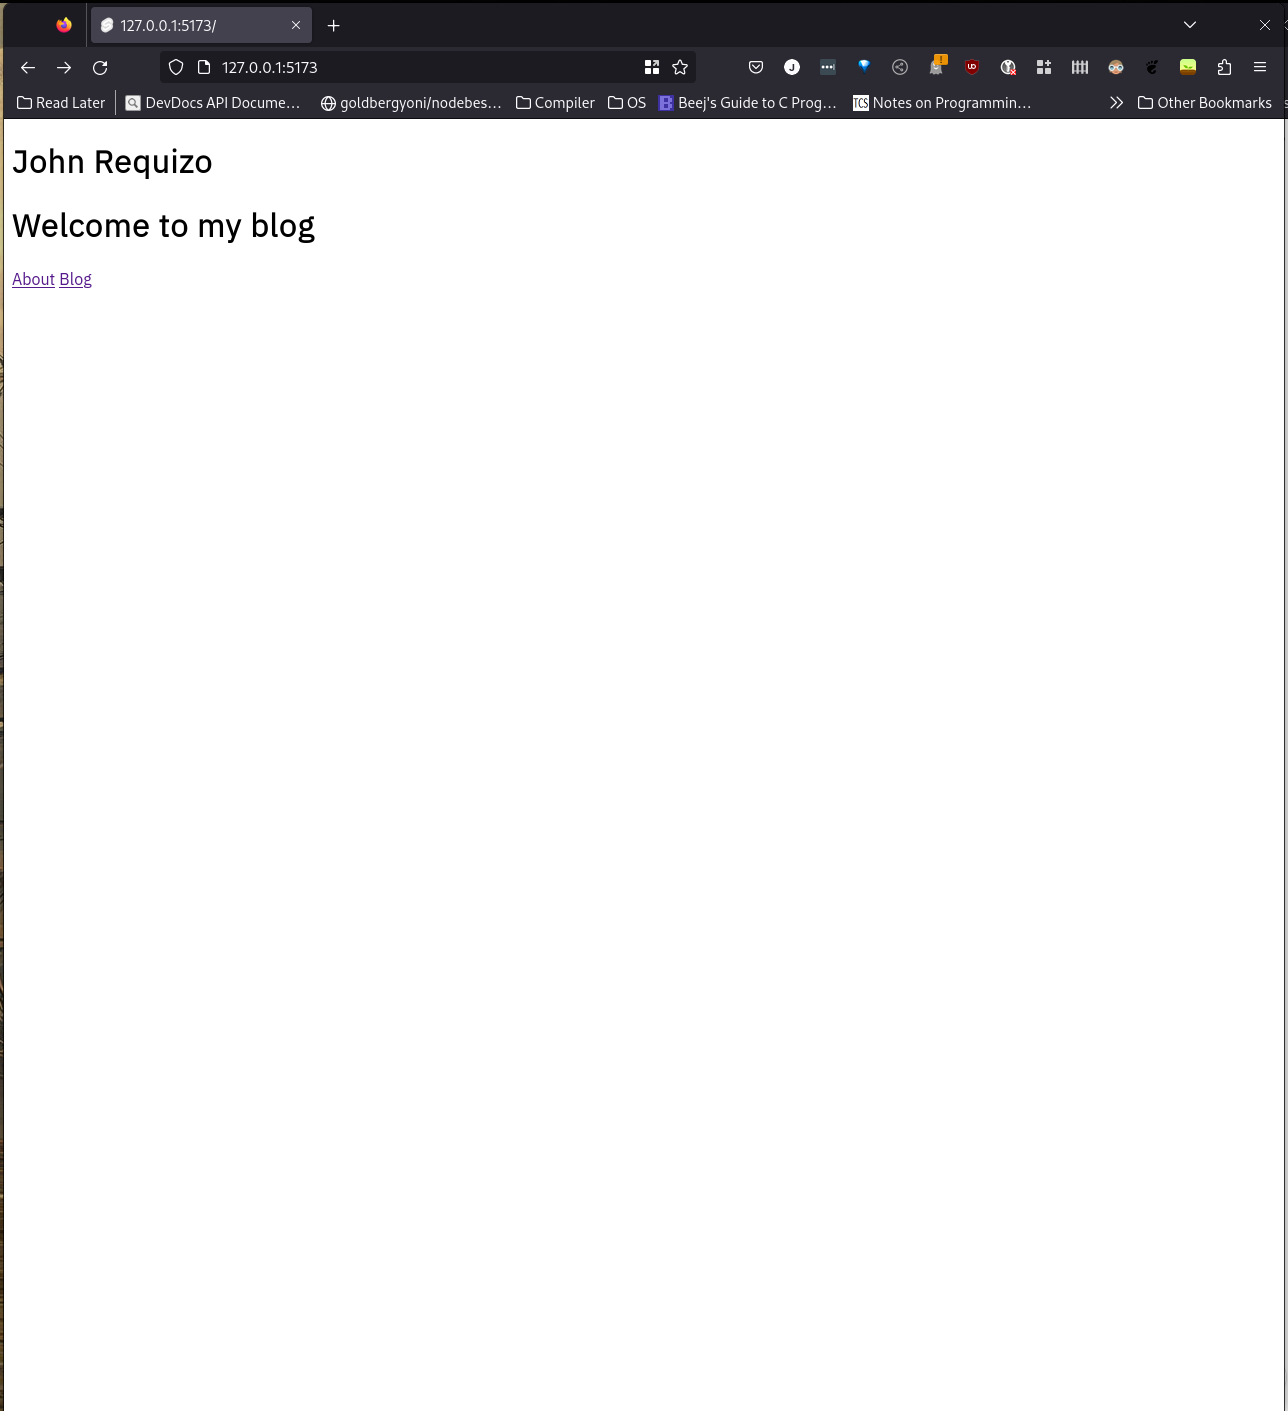
I was not completely happy with it but I had to quickly learn and accept that although I was not happy, I had to be okay with it if I wanted to deploy as fast as I can. I could always iterate later on, and having deployed my first ever website is a bigger achievement than the styling and aesthetics of my website.
Deploying with Firebase
Likewise with Svelte, Firebase also has good documentation which allows me to develop and iterate quickly.
Fortunately Firebase has a no-cost plan (Spark Plan) which I intend to abuse at the inception of this project. I will be looking into other providers, but for now I will attempt to understand Firebase and its limitations to the best of my abilities.
Using Firebase was much easier than I anticipated for the task that I wanted - deploy my website. Initialising my project using Firebase went something like this:
- Create a Firebase account, and add a web project
- Figure out deploying and hosting a webpage via Firebase Hosting
npm install -g firebase-toolsat my Project directoryfirebase loginat my Project directoryfirebase init hostingat my Project directoryfirebase deploy --only hostingat my Project directory- Profit???
Indeed, this time I profited greatly! After a few tweaks with navigating around my website I was ready to deploy. Firebase created a domain for me, although not of my own choosing. But now I can share my first ever website deployed. I was ecstatic!
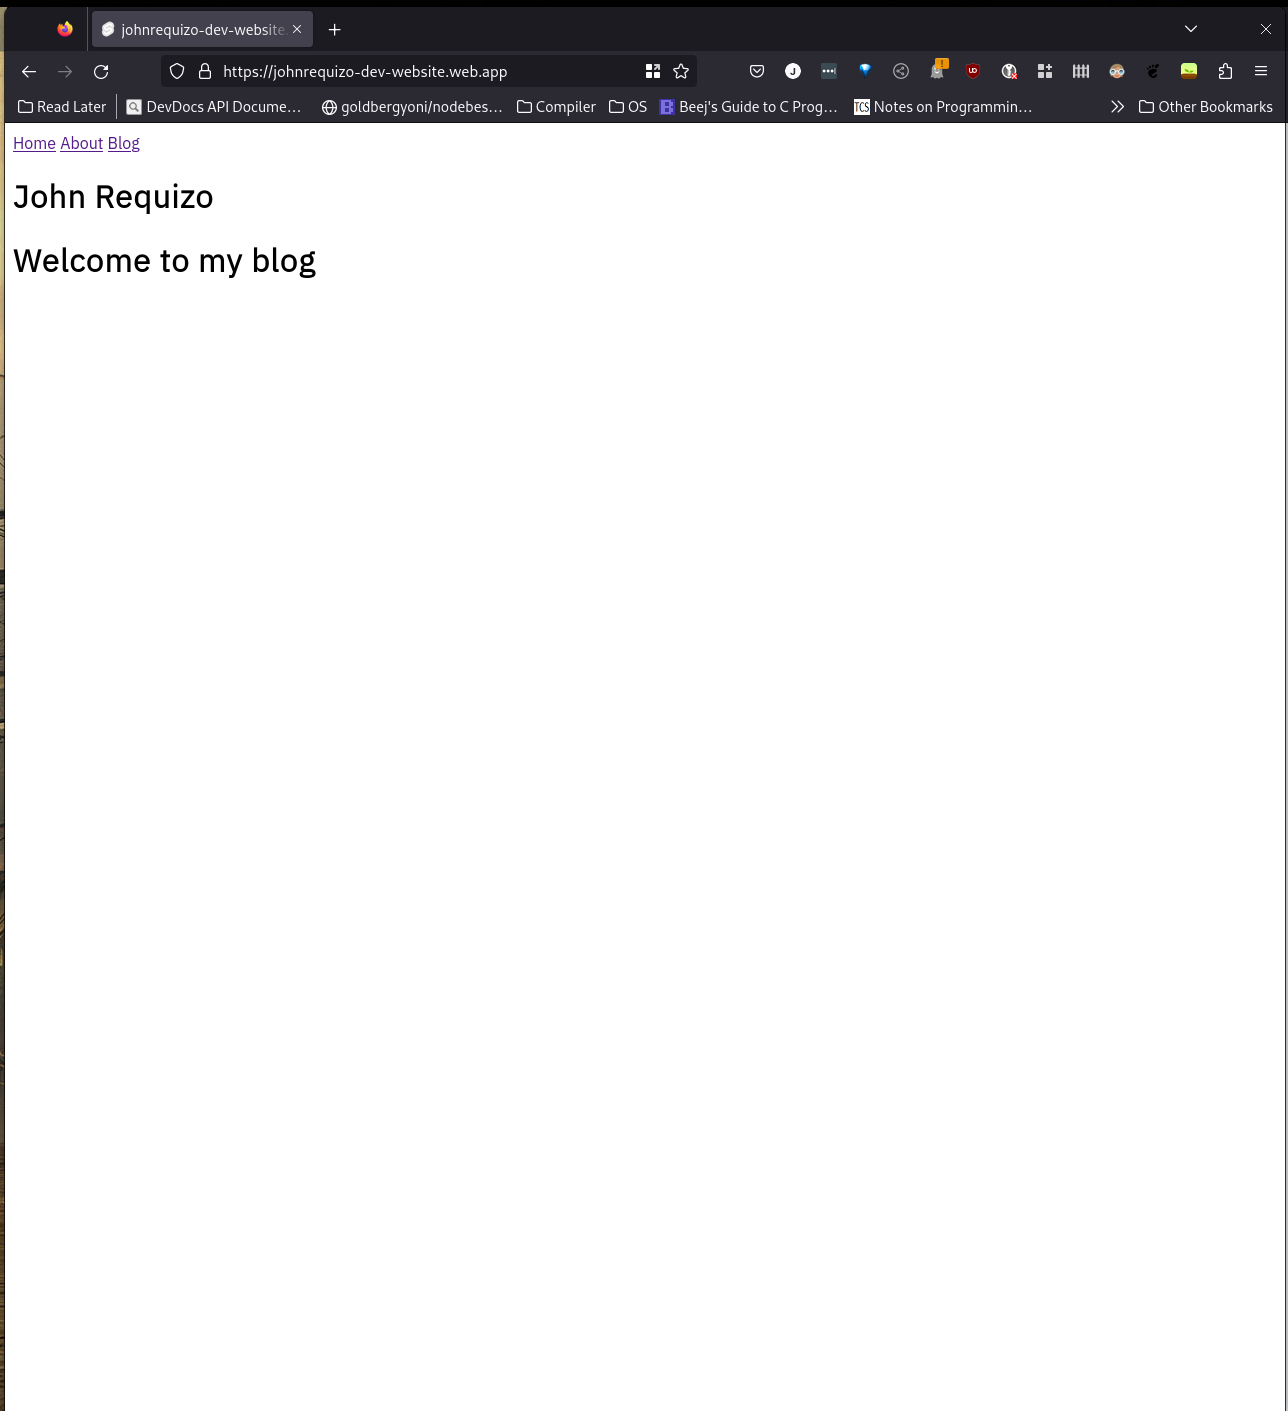
It’s not perfect, but I’m in love with the process and progress. Deploying with Firebase in my experience was frictionless. I didn’t have to worry about creating or buying a domain (I didn’t have a domain at the time, but now I do), and deploying to a server where my website will be hosted. Firebase handled all that for me.
After a few hours of research and after a day or two of development, I had successfully created my own website, and deployed it for the world to see.
Conclusion
Perfection is the enemy of progress - Winston Churchill
I couldn’t conclude my first ever blog post without a cheeky quote. Similarly with this blog post, I wrote it with purpose of completing this in an hour or two in the evening.